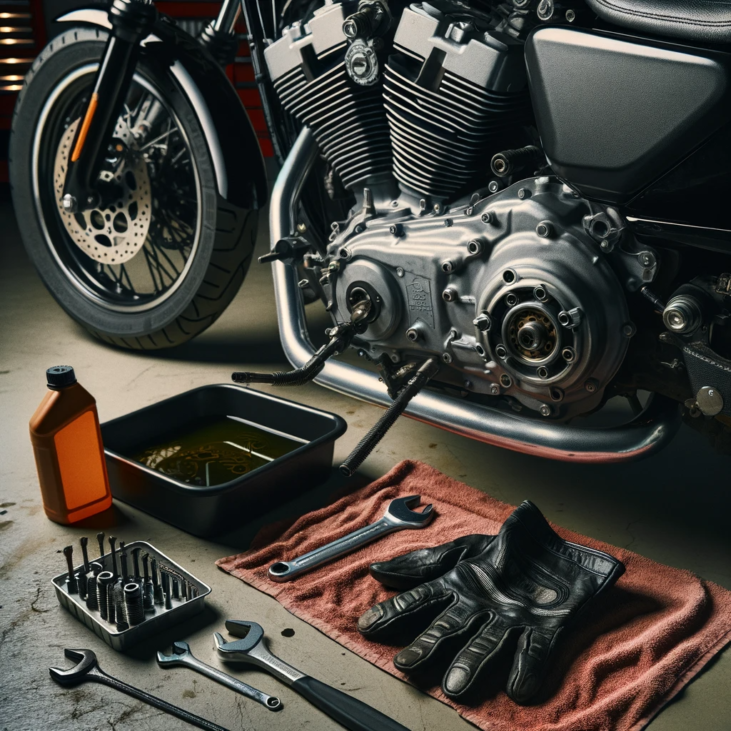
How to Change Transmission Fluid on Sportster 1200: Many Sportster 1200 enthusiasts aren’t aware that regularly changing your transmission fluid can significantly extend your bike’s performance and longevity. As you embark on this maintenance, you’ll be infusing new life into your machine, ensuring it runs smoother and responds with precision.
Start by gathering your tools—a 3/16 allen head, 5/8 socket, and the right synthetic fluid. You’re not just replacing fluid; you’re upgrading your ride’s heart with state-of-the-art lubrication.
Carefully remove the primary cover and drain the old fluid, taking a moment to inspect for any metal shavings or debris. This isn’t just routine maintenance; it’s a ritual that keeps you and your Sportster 1200 at the forefront of innovation and performance.
Replenishing with fresh fluid isn’t just a task—it’s your commitment to excellence on the road.
Key Takeaways
- Gather the necessary tools and materials, including an allen head, socket, drain pan, funnel, and torque wrench.
- Prepare a well-lit and organized workspace, clearing the area of unnecessary items and laying down a drop cloth or newspapers.
- Drain the old transmission fluid by locating and loosening the drain plug, cleaning and inspecting the plug before reinstalling it.
- Clean and inspect various components, such as the primary cover, magnetic drain plug, o-rings, and primary chain tension, making necessary adjustments and noting any abnormal wear or damage.
Gather Necessary Tools
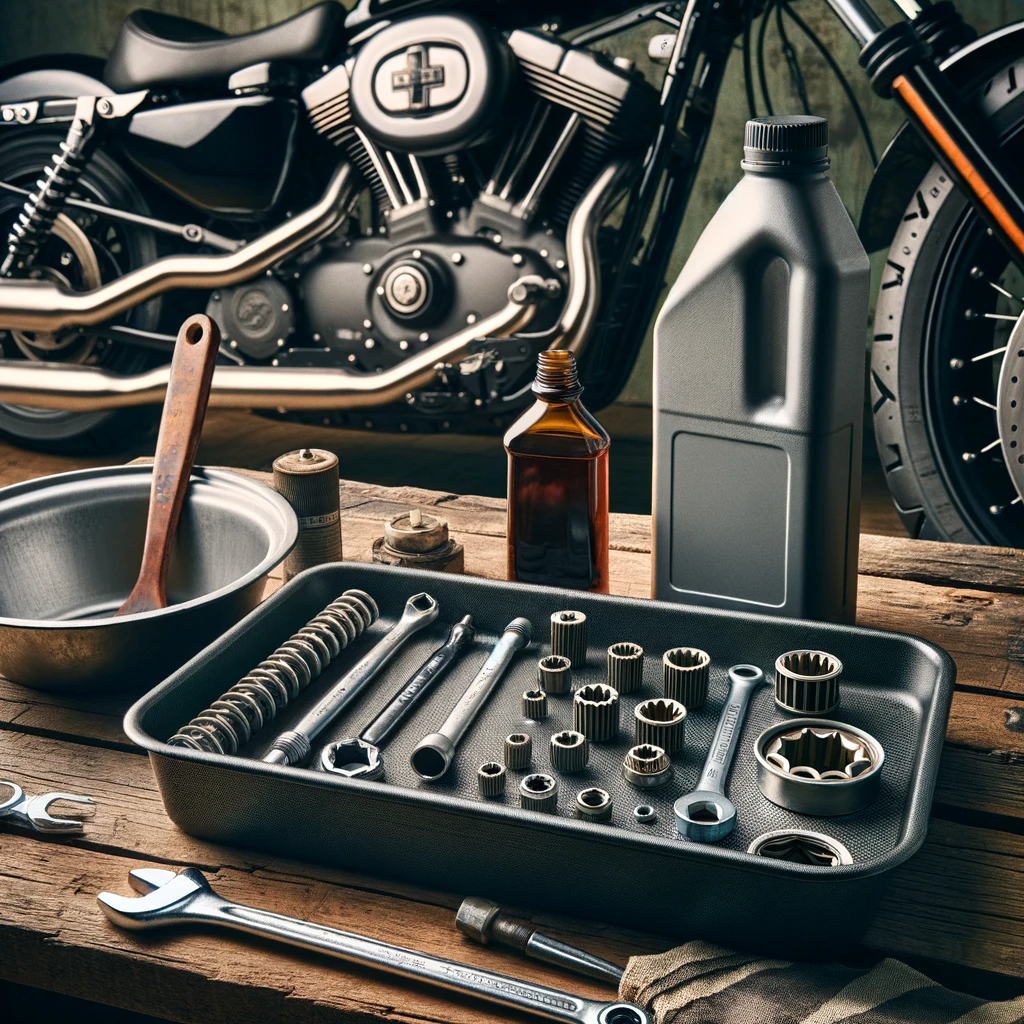
Before diving into the transmission fluid change on your Sportster 1200, you’ll need to gather a 3/16 allen head and 5/8 socket from among your tools. These specific sizes are crucial for the task at hand and not having them could result in a false start, setting your maintenance schedule back unnecessarily.
With tools in hand, begin by using the 3/16 allen head to carefully remove the primary cover. This process requires finesse to ensure that you don’t damage the two o-rings and the rubber gasket, which are integral to maintaining a leak-free system.
Once exposed, you’ll then utilize the 5/8 socket to loosen the 5 H drain plug. Pay close attention as you clean the plug; inspecting the rubber o-ring for any signs of wear or damage is vital for avoiding leaks upon reinstallation.
Remember, the drain plug is magnetic and designed to collect any metal sediment. This is a key innovation for motorcycle maintenance, signaling when your Sportster might need service beyond a simple fluid change. Reattach the plug, torquing it to the specified 14 to 21 foot-pounds.
Now that your tools are sorted, let’s move on to prepare your work area, ensuring a clean, safe environment for your Sportster’s maintenance.
Prepare Your Work Area
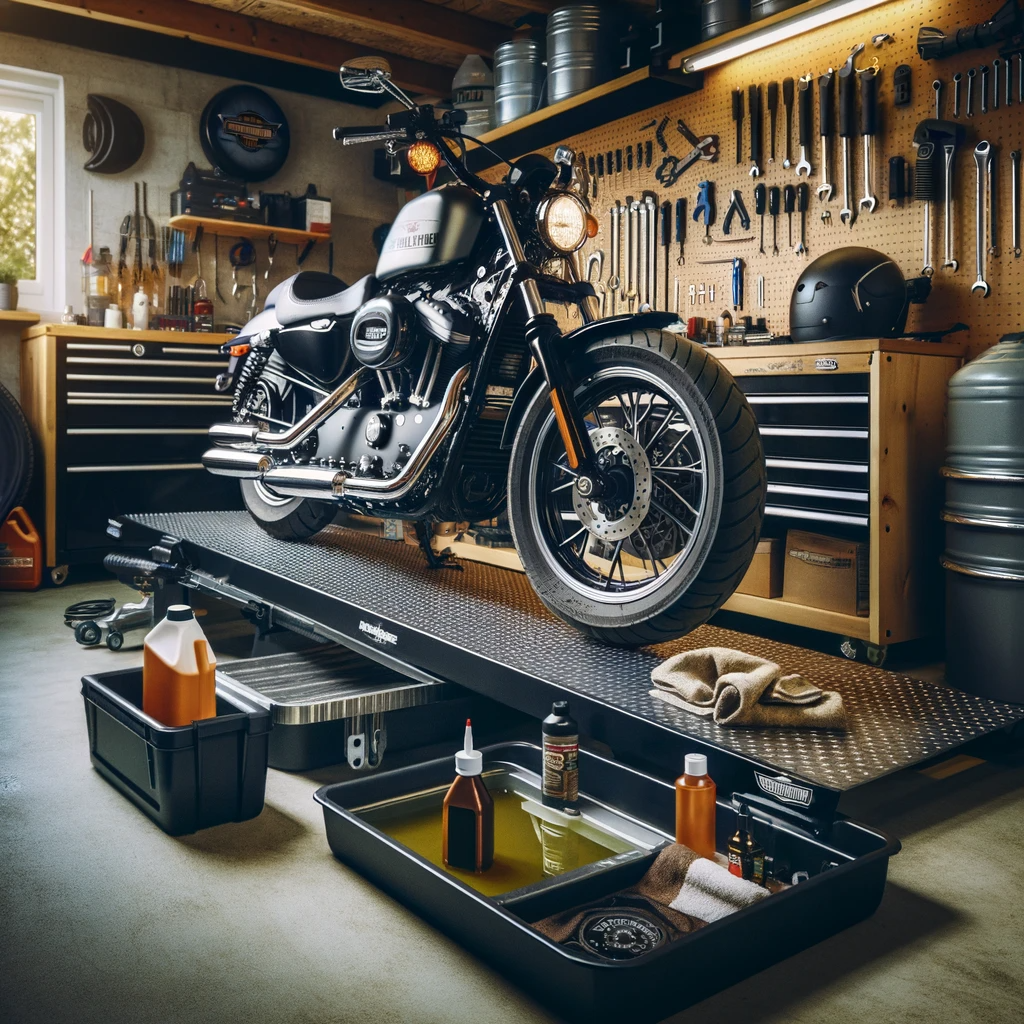
To ensure a smooth process when changing your Sportster 1200’s transmission fluid, you’ll want to set up a well-lit and organized workspace. Good lighting is crucial to spot any small particles or imperfections that could affect your bike’s performance. Clear your area of any unnecessary items that could get in the way. Lay down a durable drop cloth or old newspapers to catch spills and keep your floor clean.
An orderly work area ensures all tools and components are within reach and prevents mishaps. Here’s a quick guide to set up your space:
| Tools and Materials | Location | Notes |
|---|---|---|
| 3/16 Allen Head | Right Side | Easily accessible for cover removal |
| 5/8 Socket | Left Side | For drain plug and tension adjustment |
| Primary Oil | Front | Avoid contamination; open when needed |
Ensure your workspace is ventilated, as you’ll be dealing with chemicals. Have a designated area for used oil, and be ready to dispose of it responsibly. Always keep your manual handy for quick reference to torque specifications and procedural steps. With a methodical approach, you’ll maintain a smooth workflow and avoid any missteps.
Drain Old Transmission Fluid
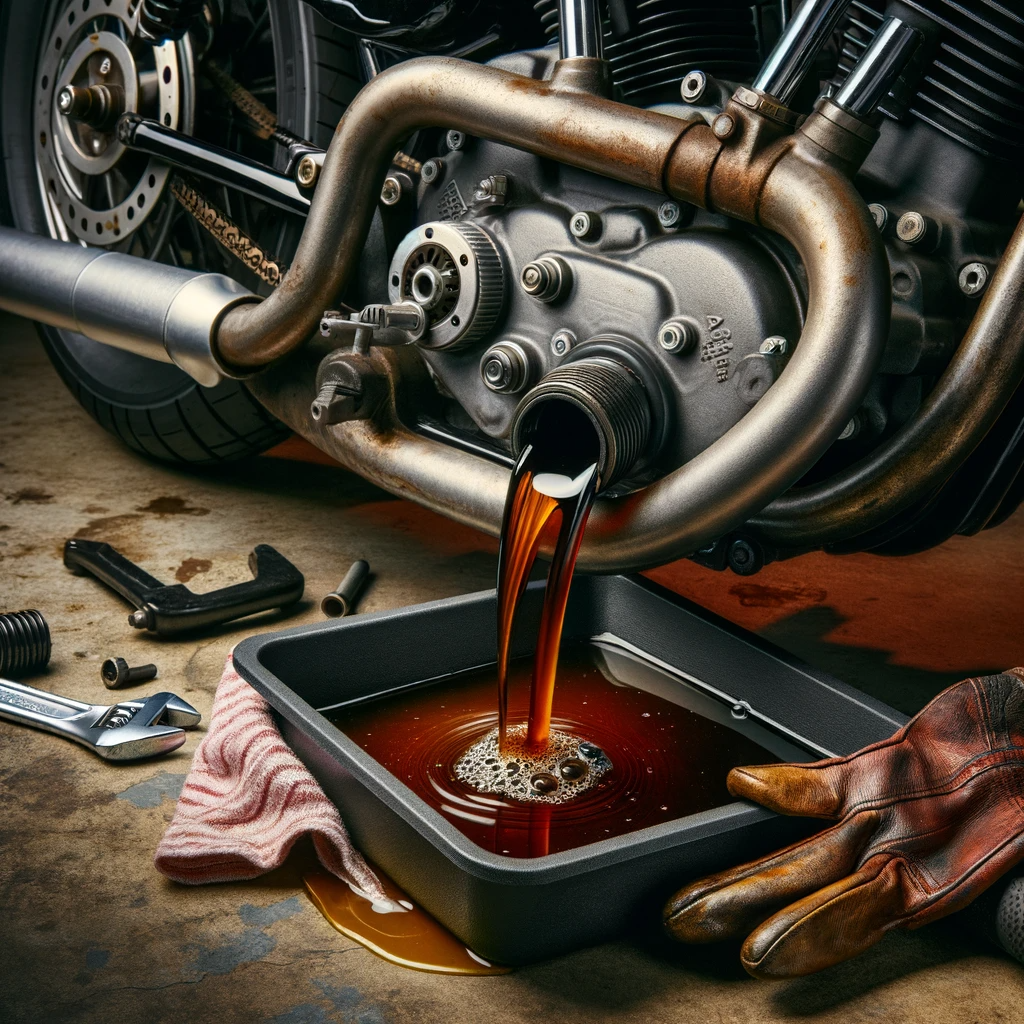
Once your work area is ready, you’ll need to drain the old transmission fluid from your Sportster 1200. First, locate the 5 H drain plug beneath your motorcycle. Approach this step with caution, as the drain plug should be loosened carefully. Once loose, you can remove it entirely by hand, avoiding any tools that could damage the threads.
Before proceeding, take a moment to clean the top of the plug. It’s crucial to ensure that the o-ring is intact. If it’s damaged or worn, replace it to prevent future leaks. Inspect the plug for sediment, which is normal, but an excessive amount may indicate it’s time for a service. This magnetic plug is your first line of defense, catching any metal particles before they circulate back through the transmission.
When reinstalling the plug, start the threads by hand. This is a key step to prevent cross-threading, which can lead to costly repairs. Once you’ve hand-tightened the plug, use a torque wrench to secure it to the manufacturer’s recommended 14 to 21 foot-pounds, ensuring a proper seal.
Lastly, verify the chain tension. It should measure around 3/8′. If it doesn’t, consult your service manual for the correct adjustment procedure, maintaining the innovative standards of your Sportster 1200.
Clean and Inspect Components

After draining the old transmission fluid, inspect and clean the bike’s primary cover and magnetic drain plug to ensure there’s no excessive wear or debris buildup. The presence of metal shavings or sediment on the magnetic drain plug could indicate internal wear, so take note if you spot anything out of the ordinary. Carefully clean the plug, removing all particles with a clean rag, but don’t scrub too hard; you don’t want to damage the magnet.
Next, turn your attention to the primary cover’s interior. It’s vital to check for any signs of abnormal wear or damage. Look for grooves or scratches that could compromise the integrity of the seal. Clean the surface meticulously, ensuring that you don’t leave any residue that could contaminate the new fluid.
Remember the two o-rings you carefully avoided damaging earlier? Now’s the time to examine them. They should still be flexible and free from cuts or breaks. If they’re showing signs of deterioration, replace them to maintain a proper seal.
Lastly, check your primary chain tension. Insert a finger and gently press down; the chain should give way slightly, reaching the edge of the clutch basket. If it’s too tight or too loose, use an allen key and bolt to adjust the tension accordingly, aiming for optimal performance and longevity.
Refill With Fresh Fluid
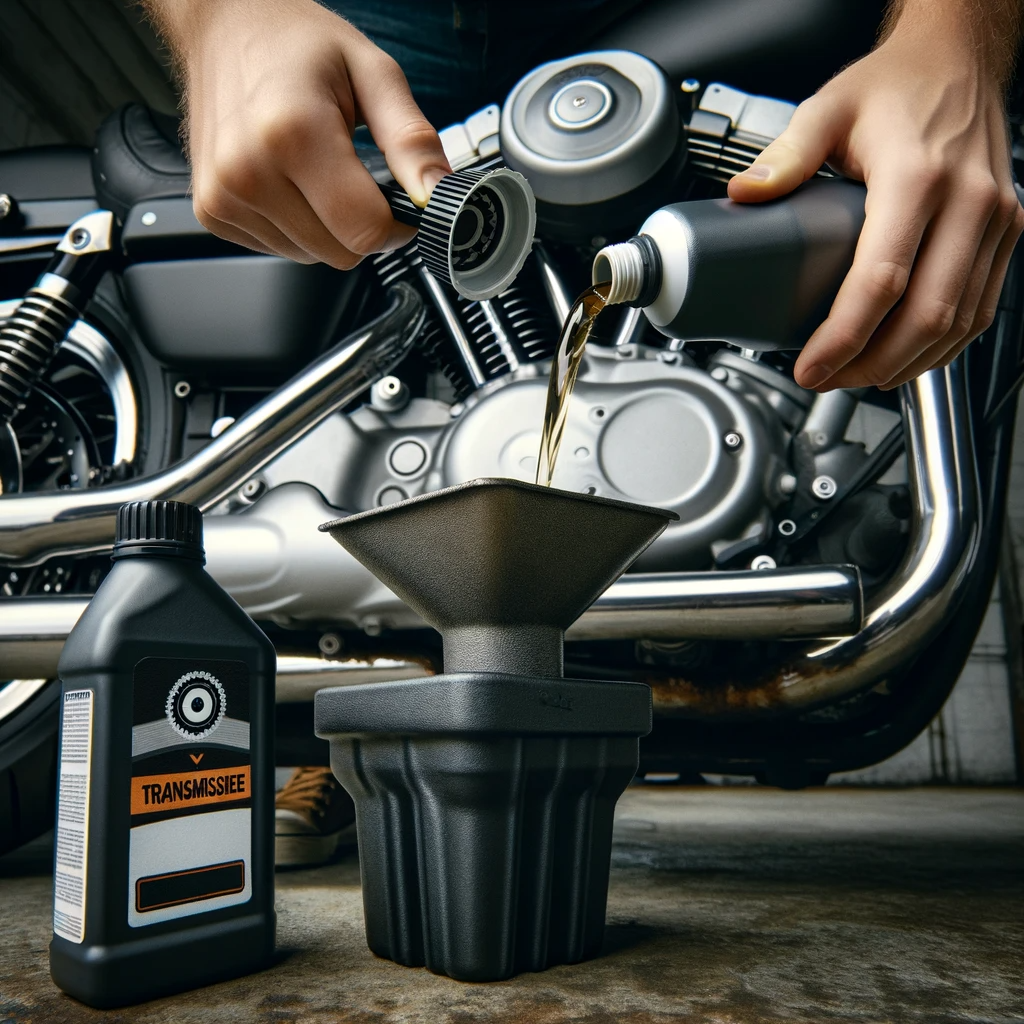
While you’ve got the primary cover off, you’ll want to carefully refill the transmission with a quart of primary oil v-twin synthetic 2050. This high-quality lubricant will ensure your Sportster’s transmission operates smoothly and reliably. Precision is key during this step, as the correct amount and type of fluid will significantly impact your bike’s performance.
Here’s how you should proceed:
- Locate the Fill Port: Find the transmission’s fill port, which is typically located on the side of the primary housing. Remove the fill plug using the appropriate tool.
- Add the Oil: Slowly pour the v-twin synthetic 2050 into the fill port. You’ll need to be patient to avoid overfilling and spilling. Aim to introduce the fluid steadily to prevent air pockets from forming.
- Check the Level: After adding the oil, ensure the level is within the recommended range. Insert a clean dipstick into the fill port without screwing it in, then remove it to check the level. If necessary, add a bit more fluid until you reach the ‘full’ mark.
How to Change Transmission Fluid on Sportster 1200 FAQ’s
Do Harley Sportsters Have Transmission Fluid?
Yes, your Harley Sportster uses primary oil as transmission fluid, housed in the primary cover. Regular maintenance ensures your ride stays innovative and high-performing, with smooth gear shifts and a reliable drive system.
How Often Should You Change Transmission Fluid in a Harley Davidson Motorcycle?
You should change your Harley Davidson’s transmission fluid every 20,000 miles or every two years, whichever comes first, to maintain your bike’s peak performance and innovative edge.
How Much Fluid Does a Sportster 1200 Take?
You’ll need one quart of V-twin synthetic 20W-50 to fully replenish your Sportster 1200’s primary oil. Ensure you torque the drain plug correctly and check the primary chain’s tension.
Where Is the Transmission Drain Plug on a Harley?
You’ll find the transmission drain plug on your Harley under the bike, typically on the left side of the transmission case. It’s crucial for maintenance and ensures your ride’s smooth performance.


