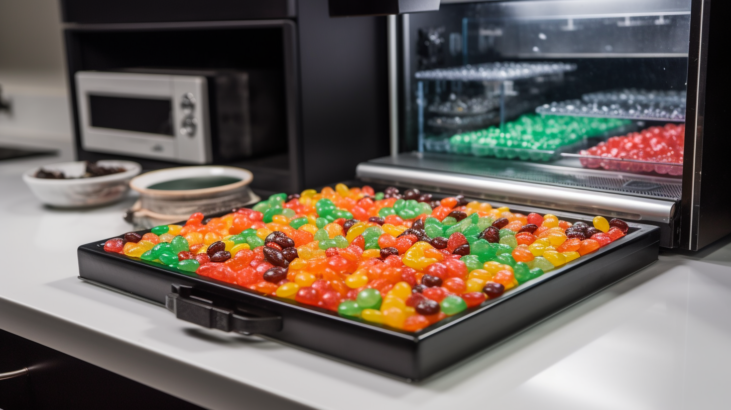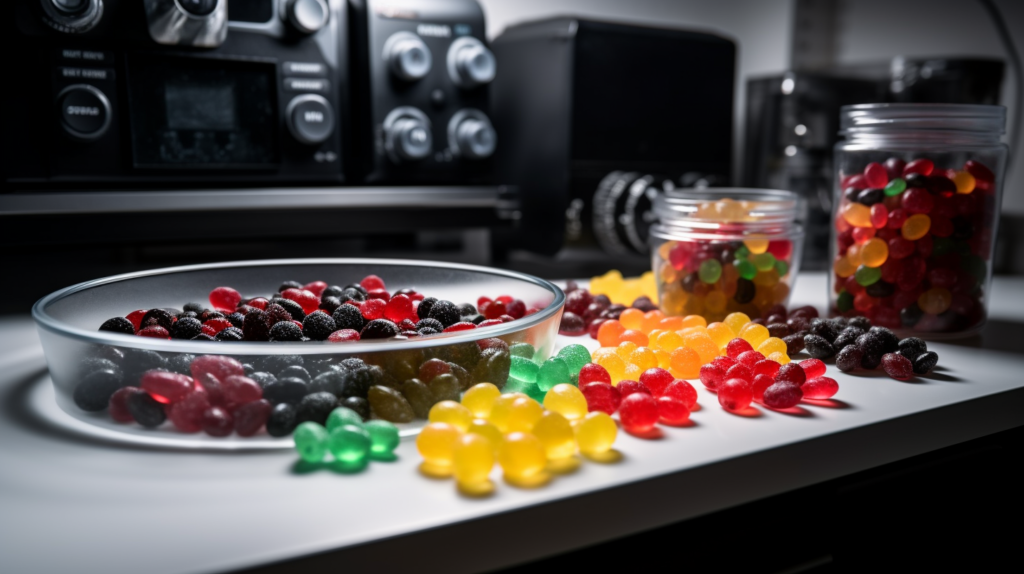
How to Freeze Dry Candy – Freeze drying, also known as lyophilization, is an excellent way to preserve many foods, including candy. It works by freezing the food, then reducing pressure and adding heat to allow frozen water in the food to sublimate directly from solid phase to gas phase. This removes most of the moisture from the food, leaving its structure intact with minimal shrinkage. Freeze dried foods are very lightweight, retain nearly all their original nutrients, and can be stored at room temperature for years without deteriorating.
With the right technique, many candies can be successfully freeze dried at home to create crunchy, flavorful treats that will last. This article will provide step-by-step instructions on how to properly freeze dry a variety of candies using common equipment.

Selecting Candy for Freeze Drying – How to Freeze Dry Candy
Not all candies are well-suited for freeze drying. The best candidates are candies that have a soft, moist, and porous physical structure, which allows the ice within to be efficiently vaporized. Ideal choices include:
- Gummy candies
- Marshmallows
- Jellies
- Licorice
- Gumdrops
- Jujubes
- Malt balls
- Certain chocolates
On the other hand, hard or crunchy candies are difficult to effectively freeze dry at home. Examples to avoid:
- Hard candies
- Toffees
- Brittle
- Candy with pressurized air pockets
Stick with softer, chewier candies for best results. Smaller candy pieces also tend to freeze dry quicker than large pieces.
Freezing the Candy
Before freeze drying can begin, it’s essential to completely freeze the candy pieces to temperatures well below 0°F. Freezing causes the moisture within the candies to transition from liquid water to solid ice crystals. This prepares the ice to later change from solid to gas via sublimation during the drying process.
Step 1: Spread candy pieces in a single layer on trays, pans or plates. Make sure the pieces are not touching or stacked. You want maximum exposure to cold air circulation.
Step 2: Place the candies in the freezer, ensuring temperature is at 0°F or below. Most home freezers operate around 0°F. Leave candies to freeze for 24-48 hours until completely solid.
Step 3: Once fully frozen, transfer candies from the trays into moisture-proof plastic bags or containers. Press excess air out before sealing. Leave in freezer until ready to load into the freeze dryer.
Proper freezing is crucial. All moisture in the center must be completely solid ice before freeze drying can effectively remove it. Insufficient freezing can cause candies to collapse.
Loading the Freeze Dryer
Once frozen, the candy pieces can be loaded into the drying chamber of a freeze dryer. Home freeze dryers are now available at reasonable prices for home cooks and DIYers. Units like the Harvest Right Home Freeze Dryer provide convenient small-batch drying options.
When loading your freeze dryer, follow these guidelines:
- Spread pieces in a single layer on trays, not touching or stacked.
- Allow ample space around each piece for air circulation.
- Do not overload machine past recommended capacity.
- Try to load similar candy types together for even drying.
- Place trays evenly throughout chamber, staggering on shelves.
With an evenly distributed load, the freeze drying process will remove moisture most efficiently.
Setting Freeze Dryer Controls
Before starting a freeze drying run, the machine controls must be set properly. Good settings for candy depend on factors like candy type, size and moisture content. Use these general guidelines:
- Temperature: -10°F to -20°F. Colder settings create smaller ice crystals for faster drying.
- Vacuum level: high (around 0.1 mBar pressure). Higher vacuum speeds sublimation.
- Runtime: Set timer for an initial 6-8 hour cycle. Extend as needed to fully dry candies.
- Defrost cycles: Optional, but can help remove additional moisture if candies are not drying fast enough.
Monitor candies and make small adjustments to settings as required to optimize drying speed and quality.
Running the Freeze Drying Process
Once loaded, frozen and programmed, it’s time kick off a freeze drying cycle:
- Turn on vacuum pump to required pressure level.
- Start refrigeration system to pre-set temperature.
- Make sure condenser coil is clear of debris to capture vapor.
- Allow system to run entire timer cycle, with periodic checks every 4-6 hours.
- Extend timer as needed until candies are fully dried.
The freeze drying process itself is completely automated. The machine will remove moisture via sublimation without intervention. But periodic checks help spot any potential issues.
Checking Candy Dryness
How can you tell when candies are done freeze drying? Check them whenever opening the machine to refill trays or restart timer. Signs of complete dryness:
- Hard, crunchy and brittle texture
- Lightweight and hollow sounding when tapped
- No condensed moisture inside wrapper
- No changes after an additional drying cycle
- Candy should feel completely dry to the touch
Err on the side of over-drying. Any residual moisture creates opportunity for spoilage during storage.
Typical Drying Times
Drying times required vary based on factors like candy density, size and initial moisture content. Some typical times:
- Gummy candies: 18-24 hours
- Marshmallows: 16-22 hours
- Jujubes: 14-20 hours
- Licorice: 8-14 hours
- Malt balls: 12-18 hours
Monitor different candies separately. Remove fully dried pieces before extended cycle for others.
Storing Freeze Dried Candy
To retain maximum crisp texture and prevent re-absorption of moisture from the air, store freeze dried candies properly:
- Place immediately into air-tight containers after removing from dryer. Mason jars, Mylar bags and vacuum seal bags all work well.
- For long-term storage, include oxygen absorbers in containers to remove any remaining air and moisture.
- Keep containers in a cool, dry place away from heat, sunlight or temperature fluctuations.
- Properly stored, freeze dried candy can last 6-12 months at room temperature without quality loss.
With minimal oxygen and moisture, freeze dried treats can be safely held in the pantry for enjoyment year-round.
Recipes and Flavor Options
While any moist candy can be freeze dried as is, you can also incorporate flavorings and ingredients to create custom treats:
- Coat gummy bears, marshmallows or other pieces in flavored powders before drying. Try sour, sweet and savory flavors.
- Mix crushed freeze dried candy into trail mixes, cereal mixes and snack mixes for variety.
- Blend freeze dried pineapple, mango, strawberries or other fruits with candy for a flavor fusion.
- Add citric acid or vitamin C powder to fruit candy before drying for a tart kick.
- Infuse candy with extracts like peppermint, almond, vanilla or honey for added taste.
Let your imagination run wild coming up with new candy and ingredient combinations to freeze dry.
Making Candy Fillings
The freeze drying process can also make excellent stuffed candy fillings:
- Make fruit puree from strawberries, blueberries, peach, mango, etc. Spread on a tray in a thin layer and freeze dry into fruit leathers.
- Similarly, dry spoonfuls of Nutella, peanut butter, chocolate syrup, caramel, or other liquid candy toppers in the machine.
- Grind the dried fruit leathers and liquid candies into a fine powder to use as sweet filler inside gummies or other candies before drying them.
- For savory fillings, puree ingredients like mole sauce, hummus or maple bacon. Freeze and powderize to mix into candies.
Homemade crushed fillings add unique flavor and texture combinations to gummy and jelly candies.
Troubleshooting Freeze Dried Candy
While freeze drying candy at home is a relatively straightforward process, you may occasionally encounter some issues:
- Candy collapses or deflates: The pieces were likely not fully frozen prior to drying. Freeze completely before loading.
- Candy has off colors: Certain dyes and flavors can change hue. Use color-stable options.
- Candy stuck in clumps: Allow pieces to fully separate when loading into machine.
- Moisture inside packaging: Use containers or bags designed for long term food storage. Check seals.
- Candy not drying fully: Increase freeze dryer time, reduce batch size or adjust temperature/vacuum settings.
Don’t hesitate to repeat freeze drying cycles or experiment with settings until you achieve perfect results.
Storing Freeze Dried Candy Long Term
For exceptionally long term storage spanning 1-2+ years, consider these added precautions:
- Package candy with oxygen absorbers in Mylar bags and vacuum seal if possible.
- Store sealed bags in food grade plastic buckets with gaskets to exclude air and moisture.
- Add more absorbers to bucket and tape rim seal.
- Keep buckets in a cool, dark place with stable temps around 60-70°F.
With extensive blocking of air and light, freeze dried candy can realistically last 5-10 years or more before any deterioration.
Enjoy Your Freeze Dried Candy Creations!
Following the steps outlined in this article for selecting, freezing, loading, drying, storing and flavoring candy, you can easily make batch after batch of homemade freeze dried candy treats to enjoy for months on end.
Freeze drying not only preserves the delicious flavors and colors of your candy creations, but concentrates and intensifies them as well. The resulting crunchy texture brings fun novelty to sweets you thought you knew.
Get creative, try new recipes and share your custom freeze dried candies with family and friends. Just be prepared for lots of begging for your secret recipes!
Resources:
